Blog
Insights on AI, no-code, automation, and software. 67 articles from the Lightning Ventures team.

How No-Code Gives Startups a Competitive Edge
No-code platforms empower Australian startups to develop apps rapidly and cost-effectively, reshaping product development and market entry strategies.

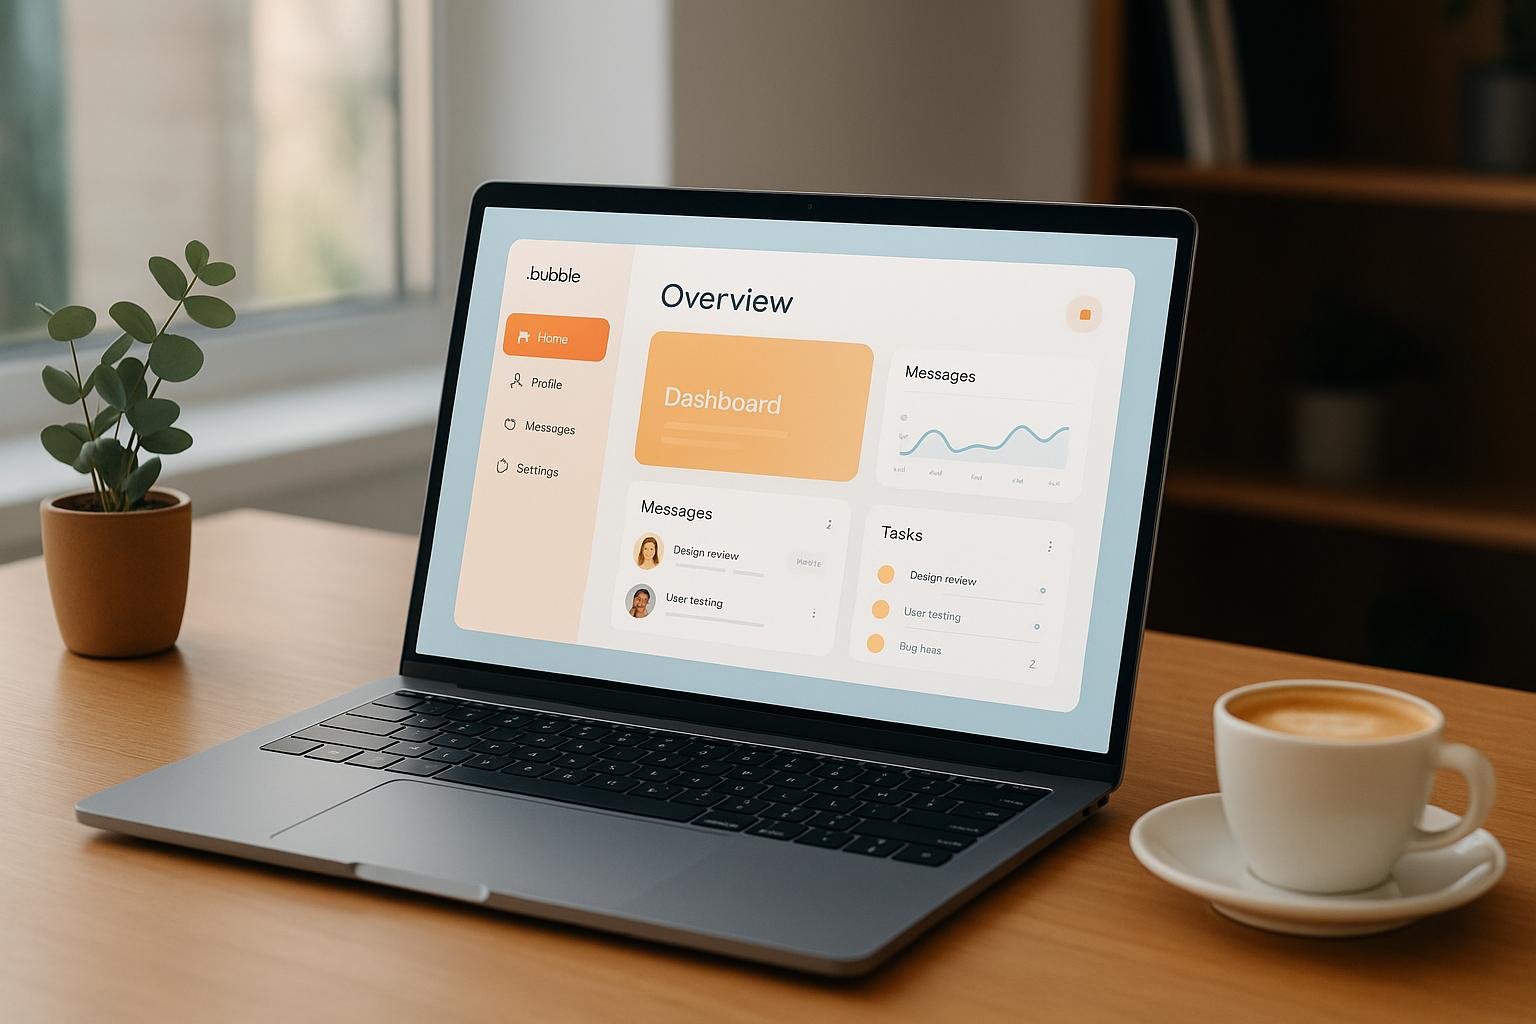
Bubble vs Xano: Database Scaling for No-Code Apps
Explore the differences between two no-code platforms for database scaling, ideal for startups and enterprises in Australia.

No-Code MVP Development: Lessons from Startups
Learn how no-code tools empower startups to develop MVPs quickly and cost-effectively, overcoming challenges and validating ideas in today's market.

Best Software Agency in Australia
Explore how a leading Australian software agency accelerates development with no-code solutions, helping businesses launch and scale efficiently.

How to Build MVP Experiments with No-Code Tools
Learn how no-code tools can streamline the MVP development process for startups, enabling faster testing and iteration without coding skills.

10 Tips for Mobile-Friendly Dashboards
Learn how to create mobile-friendly dashboards with these 10 essential tips for responsive design, performance, and user engagement.

3 Error-Handling Patterns for No-Code Workflows
Explore three essential error-handling patterns for no-code workflows to enhance reliability, reduce downtime, and ensure compliance.

How No-Code Workshops Help Non-Tech Founders
No-code workshops are enabling non-tech founders to quickly build apps and automate processes, transforming their business ideas into reality.

How to Customise Workflows for Nonprofits
Learn how Australian nonprofits can leverage custom workflows to streamline operations, enhance donor engagement, and reduce administrative burdens.

How to Secure APIs in No-Code Development
Learn essential strategies for securing APIs in no-code development to protect sensitive data and maintain user trust.

5 Steps to Automate Data Entry with No-Code Platforms
Automate your data entry processes with these 5 actionable steps using no-code platforms to save time and reduce errors.

A/B Testing for MVPs: Step-by-Step Guide
Learn how A/B testing empowers Australian startups to optimise MVPs, improve user engagement, and enhance conversion rates through data-driven decisions.

AI and No-Code: Scaling Innovation Together
Explore how AI and no-code platforms are revolutionising business innovation in Australia, making technology accessible and efficient for all.

AI MVPs for Non-Tech Founders
Non-technical founders can now build MVPs faster and more affordably using AI and no-code platforms, revolutionising startup development in Australia.

Best Software Agency in Melbourne
Explore how a leading software agency in Melbourne accelerates business growth through no-code solutions and extensive client education.

Common No-Code Security Gaps
No-code platforms simplify app development but expose significant security risks, including weak authentication and data handling issues.

How No-Code Speeds Up MVP Prototyping
No-code platforms are revolutionising MVP development for Australian startups, enabling faster, cheaper, and more accessible product launches.

How to Choose No-Code Testing Tools
Learn how to select the right no-code testing tools for your Australian business, focusing on compliance, budget, and local support.
How to Customise UI in Bubble for MVPs
Learn how to effectively customise UI in Bubble for your MVP, enhancing user experience and engagement while catering to local Australian standards.

Top 7 No-Code Tools for Marketing Automation
Explore top no-code tools for marketing automation that empower Australian businesses to streamline workflows and enhance efficiency without coding skills.

Ultimate Guide to API Mocking for No-Code Developers
Learn how API mocking can enhance no-code development in Australia by speeding up application testing, ensuring local compliance, and improving collaboration.

Ultimate Guide to No-Code AI Model Integration
Explore how no-code AI tools are transforming Australian businesses by enhancing productivity, improving decision-making, and automating processes.

API Data Mapping with Bubble: Guide
Learn how to effectively map API data in Bubble for Australian standards, enhancing integration, compliance, and automation.

How to Build API Connectors in Bubble
Learn how to build secure API connectors in Bubble, seamlessly integrating local and global services while adhering to compliance standards.

Ultimate Guide to Visual Workflow Design
Explore the essentials of visual workflow design to enhance productivity, streamline processes, and foster collaboration within your organisation.

10 Steps to Launch Your Startup Using No-Code Tools
Learn how to launch your startup in Australia using no-code tools for faster development, cost savings, and compliance with local regulations.

5 AI Tools for Non-Technical Founders in 2025
Explore essential AI tools for non-technical founders in Australia to innovate and scale their businesses quickly and efficiently.

Best No-Code Automation Tools for Small Business
Explore the top no-code automation tools that empower small businesses in Australia to enhance efficiency, reduce costs, and streamline operations.

Best Practices for Resource Management in No-Code
Effective resource management in no-code platforms can drastically reduce development costs and enhance scalability for businesses.

Bubble vs Webflow: Which No-Code Platform to Choose
Explore the differences between two leading no-code platforms to determine which is best for your web application or website project.

Common No-Code Development Mistakes and Solutions
Avoid common no-code development pitfalls with practical solutions for planning, integration, scalability, and user experience.

How to Automate Business Processes Without Coding
Unlock the potential of no-code automation to streamline business processes, enhance efficiency, and reduce errors without needing coding skills.

How to Handle API Errors in No-Code Tools
Learn effective strategies for handling API errors in no-code tools to enhance user experience and maintain application reliability.

How to Scale Your App: Essential Tips
Explore essential strategies for scaling your app efficiently, focusing on performance, automation, and security to ensure user satisfaction.

How to Scale Your No-Code App: Essential Tips
Learn essential strategies to effectively scale your no-code app, ensuring performance, security, and compliance as user demands grow.

No-Code App Development: A Beginner's Guide
Learn how no-code app development empowers businesses in Australia to create apps quickly and affordably without extensive coding skills.

No-Code Database Schema Basics
Learn how to design a no-code database schema that ensures data consistency, performance, and scalability for your applications.

No-Code vs Low-Code: Key Differences 2025
Explore the fundamental differences between no-code and low-code platforms, their applications, and how they can boost digital transformation in Australia.

Top 7 No-Code Security Risks and Fixes
Explore the top security risks in no-code platforms and learn how to mitigate them to protect sensitive data and ensure compliance.

Top AI Integration Tools for No-Code Platforms
Explore top AI integration tools for no-code platforms that empower businesses to streamline operations and enhance productivity in 2025.
How Bubble Developers Create Scalable No-Code Apps
How Bubble developers craft scalable no-code applications.
Best MVP Development Tools for Fast and Easy Prototyping
Essential MVP development tools for quick and effective prototyping.
Building an MVP with No-Code: A Guide for Entrepreneurs
A step-by-step guide for entrepreneurs to build an MVP with no-code.
How Long to Learn Bubble.io? Tips for Your No-Code Journey
Tips and timelines for learning Bubble.io on your no-code journey.
How Much Does Custom Software Development Cost?
Top 10 No-Code Tools for 2025 That You Should Know
The top ten no-code tools of 2025 you need to know.
What Is a Product Agency and How Can It Help You?
Unique attributes of Australia's Product agency.
What Sets Bubble.io Apart in the No-Code Ecosystem
What distinguishes Bubble.io in the no-code market.
Why MVP Development Matters for Startups
The importance of MVP development for startup success.
Why No-Code Is Transforming Startups Everywhere
Why no-code technology is a game-changer for startups.
Why Software Companies Are Key to Innovation
The pivotal role of software companies in driving innovation.
What Is a Product Agency and How Can It Help You?
Understanding the services and benefits of a product agency.
What is a Bubble App Developer? Benefits and Why to Hire
Learn what a Bubble app developer does and why their expertise can bring your app ideas to life. Discover key benefits of hiring one now!
How Much Does Custom Software Development Cost in 2025? A Detailed Guide
Wondering how much custom software costs? Discover key pricing factors, average costs, and expert tips for budgeting in this in-depth guide.
What Is Custom Software Development? A Complete Beginner’s Guide (2025)
Discover what custom software development is and why it’s crucial for modern businesses. Learn its benefits and how it transforms growth in this in-depth guide
How a Bubble Agency Delivers Exceptional Results with Bubble.io
Learn how a Bubble agency leverages Bubble.io to create no-code solutions for businesses. Discover how they deliver exceptional results in this guide!
How a Digital Product Agency Can Drive Your Business Growth
Learn how a digital product agency can help your business grow with cutting-edge strategies and innovative solutions. Discover key benefits in this guide!
How to Learn Bubble.io Quickly: A Beginner’s Step-by-Step Guide
Wondering how to learn Bubble.io? This beginner’s guide covers everything you need to know to start building no-code apps quickly and easily. Get started today
What Is Bubble.io Used For? Top Use Cases in Modern Development
Wondering what Bubble.io is used for? Explore top use cases of this no-code platform and learn how it empowers modern app development in this complete guide.
What Are No-Code Platforms? A Beginner’s Guide to No-Code App Development
What are no-code platforms? Learn how they empower anyone to build apps without coding, their benefits, and examples in this complete guide!
What Is No-Code Development? Benefits and Use Cases for Businesses
What is no-code development? Learn how it empowers businesses to build apps without coding. Explore key benefits and examples in this detailed guide!
No-Code in Education: Empowering Teachers and Students to Innovate
The impact of no-code tools in revolutionising educational innovation.
What Is No-Code? Its Potential for Businesses and Startup
Exploring the business and startup potential of no-code technology.
Why Partnering with a Software Agency Is a Smart Choice
The strategic advantages of partnering with a software agency.

A Beginner’s Guide to What is Bubble.io: The Future of No-Code Development
An introductory guide to Bubble.io, showcasing its capabilities in the no-code development landscape.

Bubble.io vs. Upbeat: A Comparative Dive into CRM and App Development
A comparative analysis of Bubble.io and Upbeat in the context of CRM and application development.

Microsoft Power Platform vs. Bubble.io: Agile Development For A Premier Digital Product Agency
A detailed comparison of Microsoft Power Platform and Bubble.io for agile development needs.